
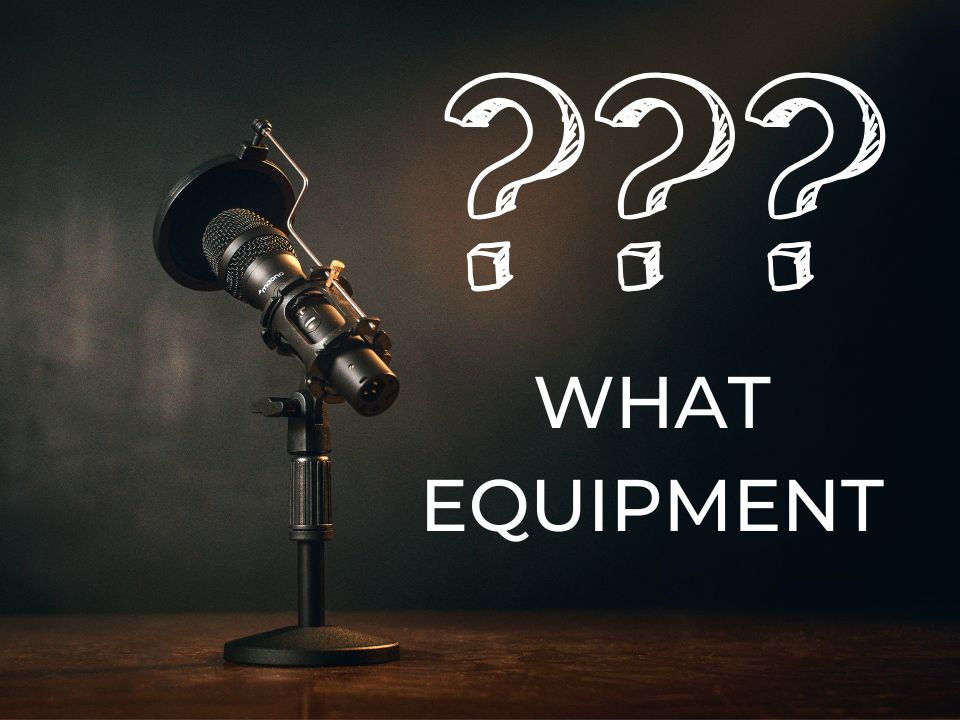
How to Set Up a Microphone for Voice Over
- Kevin Kemp
- 5 days ago
- 5 min read


Setting up your microphone correctly is SO important. By getting clean and consistent recordings, you make yourself much more attractive to casting directors. But here’s the thing, your microphone is just one part of the puzzle. So setting up your microphone properly means setting up EVERYTHING properly!
Here’s a step-by-step guide to help you set up and get recording!.
1. Choose the Right Space
Your recording environment is just as important as your equipment.
• Quiet Location: Find a space with minimal ambient noise. Listen for potential intrusions like traffic, HVAC systems, or noisy neighbors.
• Isolated from Electronics: Avoid spaces near noisy electronics such as refrigerators or desktop computers with loud fans. If you have a computer with a fan, place it outside of the recording space, run cables to a monitor, and use a Bluetooth keyboard and mouse to interact with your DAW.
• Room Size and Shape: Smaller, irregularly shaped rooms with soft furnishings often work best for voice recording, as large square rooms with hard surfaces tend to create echoes.
2. Treat Your Space
This is the most overlooked aspect of setting up equipment. No mic can compensate for poor acoustics; in fact, high-end mics can often sound terrible in poorly treated spaces because they hear EVERYTHING. Put in some extra effort here, and it will make all the difference.
• Soundproofing: Block external noise by sealing door gaps, using thick curtains, and applying weather stripping.
• Acoustic Treatment: Reduce internal reflections by placing foam or fabric on walls. You are looking to build a space with no hard surfaces! Especially behind your recording area and opposite the microphone.
• DIY Alternatives: On a budget? BLANKET FORT! Thick blankets or moving pads can act as makeshift acoustic treatments. Here is a great video for some ideas: https://youtu.be/5Se381sERrY
3. Choose the Right Microphone
Before you can set your mic up… you need a mic!
• Large Diaphragm Condenser Microphones: These are ideal for voice over due to their sensitivity and warm tone. The Neumann TLM 103 or the Rode NT1 are the most common I see in home studios, and they are great! Check out our review of the NT1 - HERE

• Shotgun Mics: In less-than-ideal recording spaces, a shotgun mic like the Sennheiser MKE 600 (review - HERE) or MKH 416 can help minimize room noise. They also have a very forward sound making them ideal for commercial reads.

• Dynamic Mics: Usually used for podcasts or content creation due to their ability to isolate poorly treated spaces, dynamics are not often used for professional voice over. They cannot capture the vocal range and clarity needed. However, they can be a great option if you are just starting out and a shotgun isn’t doing enough for you in your recording space. Our budget pick, the PD200X (review - HERE)

• Testing Before Buying: If possible, rent or borrow microphones to test how they complement your voice and space before making a purchase.
4. Hardware Setup
A clean, organized setup prevents technical issues.
• Cable Management: Keep audio and power cables separate to avoid interference.
• Power Up Safely: Always connect your microphone before turning on power and disconnect it only after the power is off to prevent electrical damage.
• Ground Loops: Use grounded outlets or ground loop isolators to eliminate hums caused by improper grounding.
• TURN OFF YOUR PHONE: Or keep it away from the recording area to prevent interference with your equipment. No one wants to hear that weird beep-did-dee-dee-beep sound!
5. Eliminate Other Noises
Even subtle noises can ruin a take.
• Mic Handling: Avoid tapping or touching the microphone or stand during recording.
• Wardrobe Choices: Wear soft, noise-free clothes to prevent rustling.
• Digital Scripts: Use a tablet or touch screen for your script to eliminate the sound of paper shuffling or mouse clicks.
6. Use a Pop Shield
A pop shield is essential for clean recordings.
• Reduce Plosives: A Pop Filter minimizes the impact of strong air bursts caused by sounds like “P” and “B.”
• Protect the Mic: Shields also protect your microphone from saliva, niiiiiiiiiiiice!

7. Mic Placement
Positioning is everything when it comes to capturing your best sound.
• Distance: Place the mic 6–12 inches away from your mouth. Use the “hand spread” technique: thumb on your chin and pinky on the pop shield.
• Off-Axis: Experiment with positioning the mic above or below you and pointed at your chin. This helps with tone and reduces harsh sounds in your voice.
• Angle: Start with the mic at a slight 45-degree angle to reduce plosive impact. Adjust height, angle and tilt until you find the sweet spot.
8. Setting Levels
Proper levels prevent distortion and ensure clarity.
• Test Dynamic Range: Record a section with varying vocal intensities. Run an audio analysis to check the numbers below. Don’t trust the live meter!
• Peak Levels: Aim for peaks around -10dB, with NO part of the recording exceeding -3dB to avoid clipping, and to give you headroom for mastering.
• RMS Levels: The average loudness should sit between -34dB and -24dB. Remember, the Peak Level is the most important, so your RMS comes second to your peak, unless requested by the client.
• Room Tone: The quieter the better, but once you have found the gain setting on your mic to obtain the correct peak and RMS, you want your room tone to be at a minimum under -60dB.
• Daily Consistency: When working on long projects like audiobooks, keep your space, equipment, settings and positioning identical across sessions.
I have a Reaper Set Up Guide that goes over this - HERE

9. Care for Your Mic
A well-maintained mic will last for years.
• Handling: Always handle your mic with care. Avoid dropping it or exposing it to moisture or extreme temperatures.
• Cleaning: Use a soft cloth to clean the mic grille periodically.
• Storage: Store your mic in a case or cover it with a dust guard when not in use.
10. Other Essential Tools
You are also going to need:
• Audio Interface: A quality interface like the Focusrite Scarlett 2i2 (review - HERE) converts your voice into digital audio for recording.

• Headphones: Closed-back headphones like the Beyer DT770’s (review - HERE) help you monitor without audio bleed.

• DAW (Digital Audio Workstation): Software for recording and editing. Many people start with Audacity (free) however I highly recommend Reaper (unlimited Free trial, but extremely affordable if you choose to support them).
Conclusion
By following these steps, you’ll be well on your way to producing professional-quality recordings. Do not underestimate the power of a good blanket fort, and remember, experimentation is key to mastering your setup, so keep playing and see what adjustments make a difference.
Chat with our community in the comments below and share your own tips or ask questions!

Comments